How Can We Help?
Add a Device
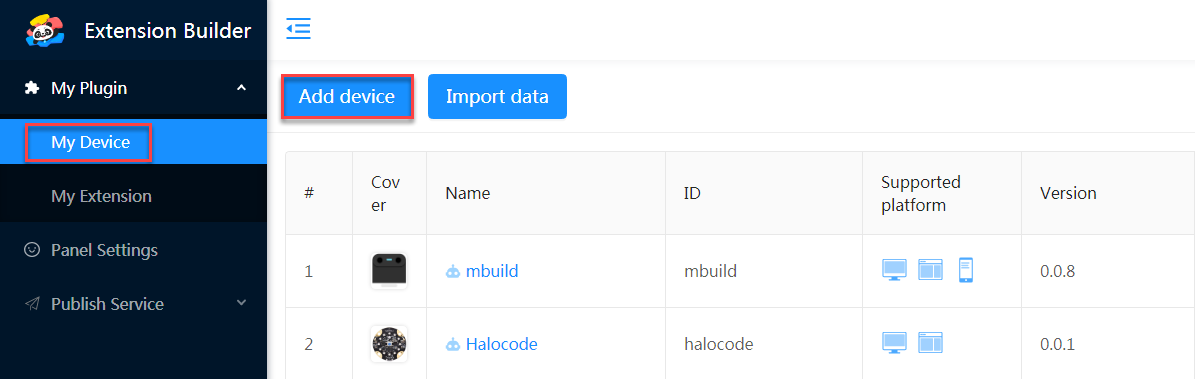
1. Add a device
Choose My Plugin > My Device and click Add device.
2. Enter the basic information
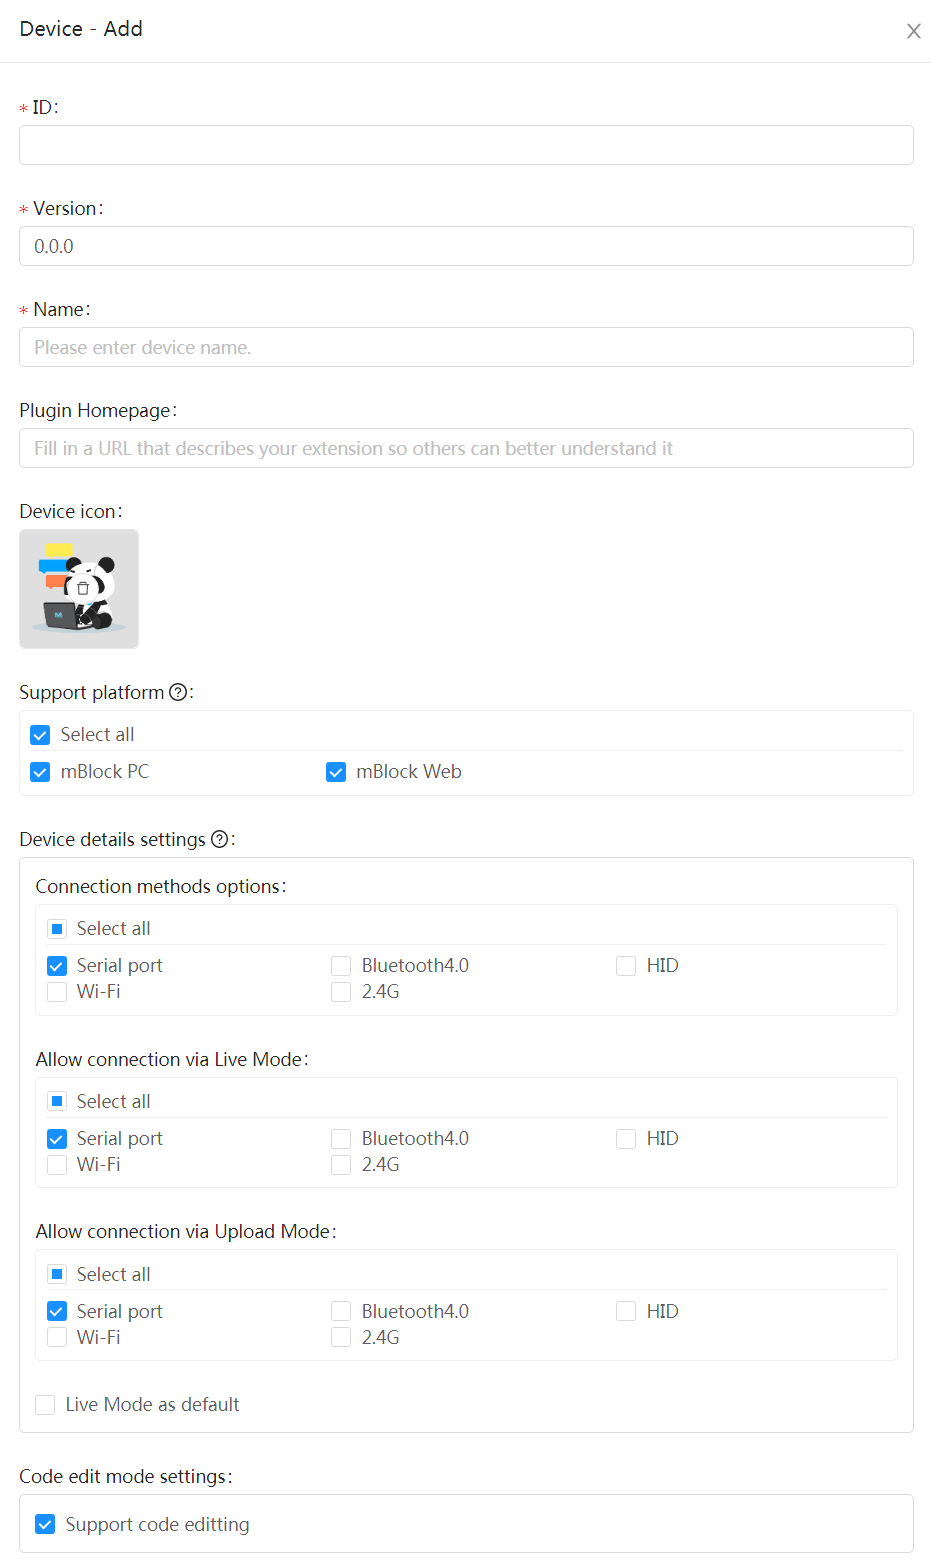
(1) ID
ID is the unique identifier (ID) of the device, used identification by developers or programs.
Identifiers can be set to a combination of lowercase character or digits. If multiple words are used, it is recommended that you use the symbol “_” to separate them, for example, arduino_uno and codey.
(2) Version
Version is the version number of the project file, used by developers to manage versions.
A version number must be a three-digit one, X.X.X.
(3) Name
Name is the name of the device, which is to be displayed on the UI.
It is recommended that you set the device name to a maximum of six characters.
(4) Device icon
Device icon is the icon of the device, which is to be displayed on the UI.
Format requirements
- Background color: transparent
- File extension: .png
- Dimensions: 300 * 300 (pixels)
- Clear front view
(5) Support platform
Select the mBlock 5 platforms to be supported by the device.
Two options are available: mBlock PC and mBlock Web
You can select Select all to select both the options.
(6) Device details settings
Set the connection modes of the device.
You can set the Live mode as the default one by selecting Live Mode as default.
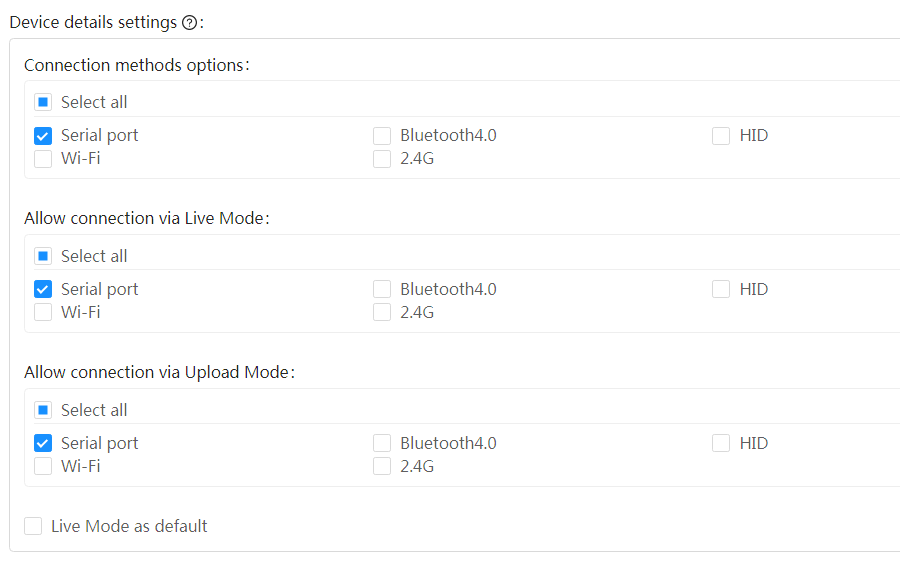
Connection options
| Options | Description | Example |
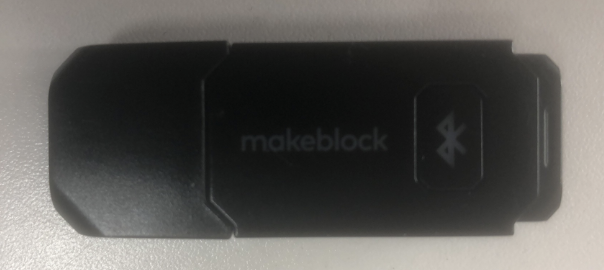
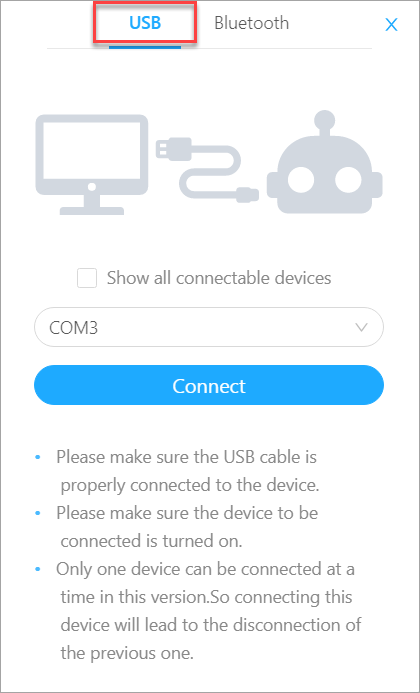
| Serial | Connects your hardware device to mBlock 5 through a USB serial port.
Note: The serial connection mode is used when you use a USB Bluetooth Dongle to connect your device to mBlock 5. |
|
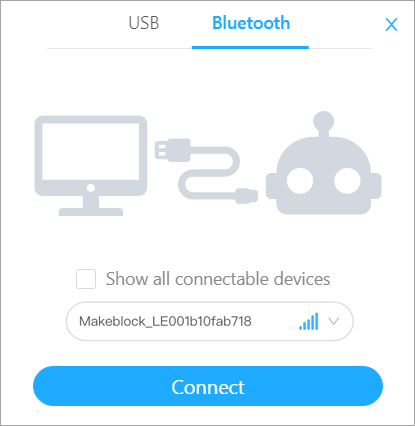
| Bluetooth | Connects your hardware device to mBlock 5 through the built-in Bluetooth function of your computer.
Currently, only Bluetooth 4.0 or later is supported. |
 |
| HID | This is one of the serial connection modes and it supports direct connection. | 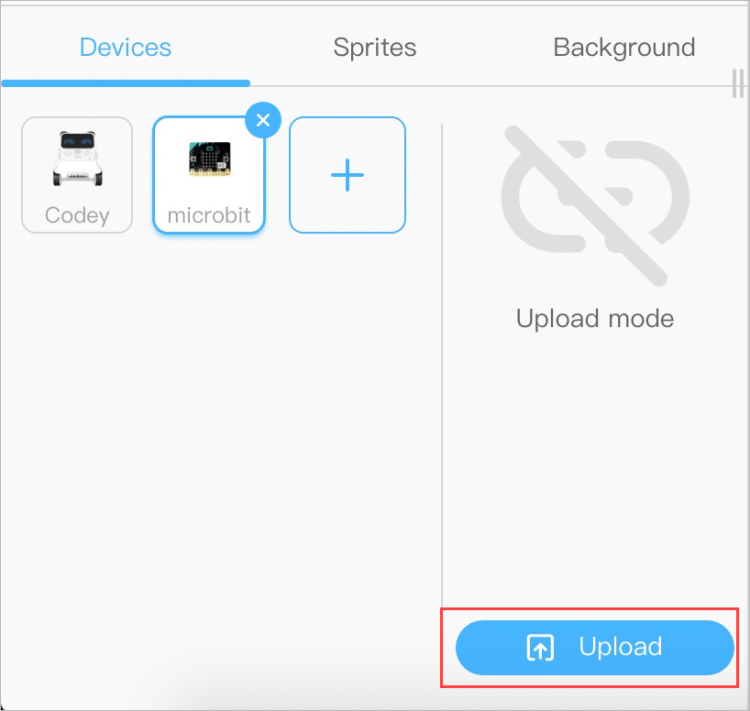 |
| Wi-Fi | Connects your hardware device to mBlock 5 wirelessly through Wi-Fi | 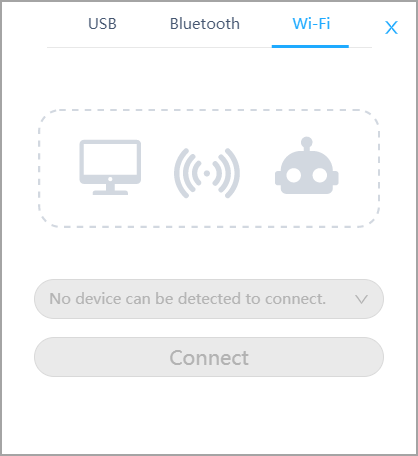 |
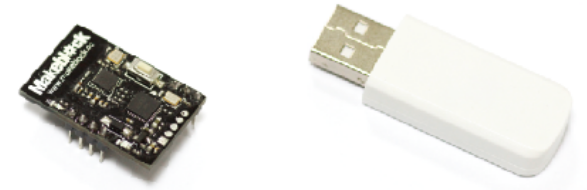
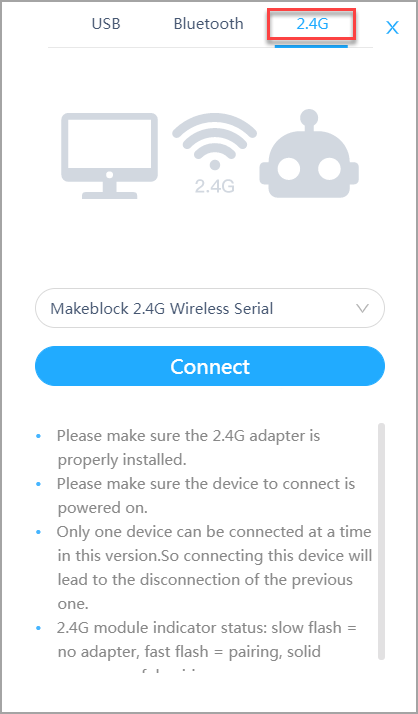
| 2.4G |
Connects your hardware device to mBlock 5 through the 2.4G module and 2.4G adapter. |
|
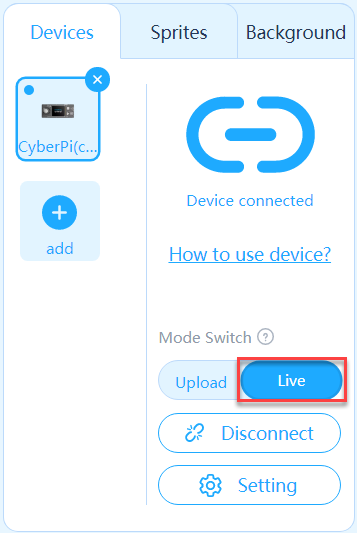
Live Mode as default
![]()
When Live Mode as default is selected, a device is set to the Live programming mode after you connect it to mBlock 5.
(7) Code edit mode settings

When this option is selected, the device can be programmed with the specified programming language(s), which can be set on the Transcode settings tab.

Click Save in the lower-right corner after set the basic information of the device.
The device is successfully created.
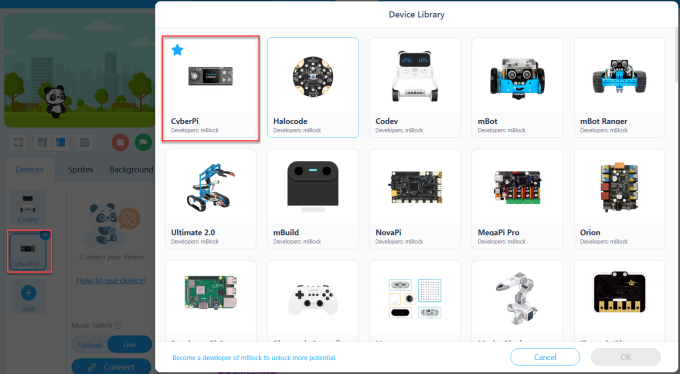
3. Configure the device
(1) Open the editing page
Choose My Plugin > My Device and click the Edit button of the device to be configured.

The following configuration items are provided on the editing page:
- Basic information
- Blocks settings
- Connection settings
- Firmware settings
- Menu settings
- Prompts settings
- Common code settings
- Custom widgets
- Transcode settings
- Translation settings
(2) Basic information
The basic information is the information you set in “2. Enter the basic information”, and you can click this tab to modify it.
(3) Blocks settings
For details about the configuration, see “Configure Blocks”.
(4) Connection settings
Set information about the connection and upload.
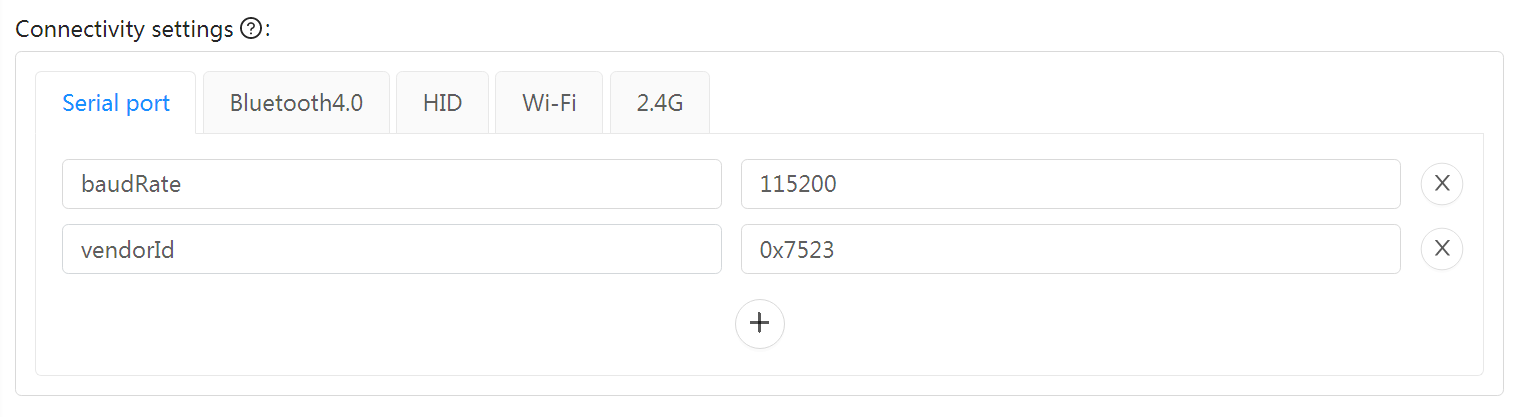
You can set the filtering for the connection of a device. For example, you can set a vendor ID to filter serial ports.
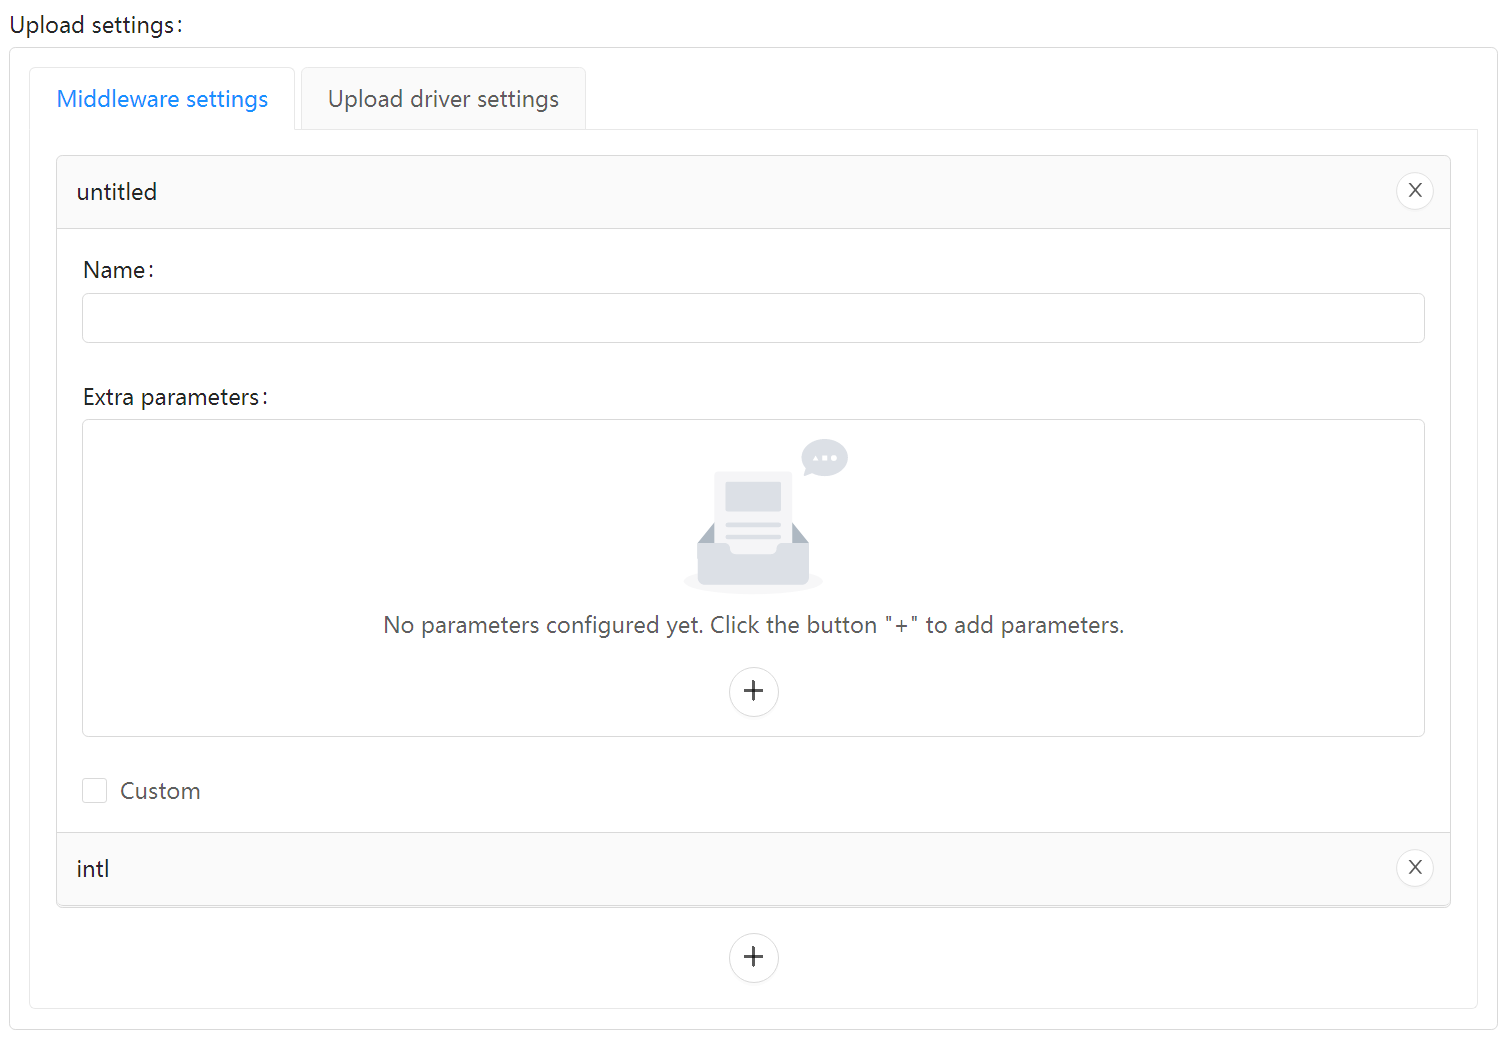
You can set the middleware as required.
(5) Firmware settings
Set the firmware according to your application.
(6) Menu settings
Set the menus to be displayed after the device is loaded on mBlock 5.
(7) Prompts settings
The following table describes the messages that you can set on mBlock 5 Extension Builder.
|
Type |
Category |
Content in the message |
|
Connection |
Serial connection |
Link to the help information |
| Indicating that the connection is successful | ||
| Indicating that the connection fails | ||
|
Bluetooth connection |
Link to the help information | |
| Indicating that the connection is successful | ||
| Indicating that the connection fails | ||
|
HID connection |
Link to the help information | |
| Indicating that the connection is successful | ||
| Indicating that the connection fails | ||
|
Wi-Fi connection |
Link to the help information | |
| Indicating that the connection is successful | ||
| Indicating that the connection fails | ||
|
2.4G connection |
Link to the help information | |
| Indicating that the connection is successful | ||
| Indicating that the connection fails | ||
|
Upload |
Link to the help information | |
| Indicating that the uploading is successful | ||
| Indicating that the uploading fails | ||
|
Firmware update |
Link to the help information | |
| Indicating that the update is successful | ||
| Indicating that the update fails | ||
(8) Common code settings
Upload source files or directly compile code.
(9) Custom widgets
Set the customized widgets to be invoked by blocks.
(10) Transcode settings
Set the transcoding language(s) of the blocks.
Currently, the following languages are available:
- ArduinoC
- Python
- JavaScript
(11) Translation settings
Enter the translations of texts in the target language(s). Multiple languages are supported.

(12) Device download
Choose My Plugin > My Device and click the Download button of the device to be downloaded.

mBlock 5 Extension Builder packs the device or extension (block set) into a .mext file.
You can download the .mext file and drag it into the mBlock 5 client to debug and test the device or extension.
Note: After being dragged into mBlock 5, the .mext file overrides the existing device or extension. To remove the device or extension from the client, you need to delete it from the local disk. For details, see “16. Local extensions can’t be upgraded or deleted. What can I do?“
(13) Preview
Click the Preview button of the device to be previewed.

The device is published in the test environment for you to preview or test it.
(14) Delete
Click the Delete button of the device to be deleted.

Note: The deletion can’t be undone. Take caution when deleting a device.