CyberPi
Getting Started Activites
Grade Level
LOWER SECONDARY
Subjects
STEAM
COMPUTER SCIENCE& TECHNOLOGY
Lesson duration
45MINS
product description
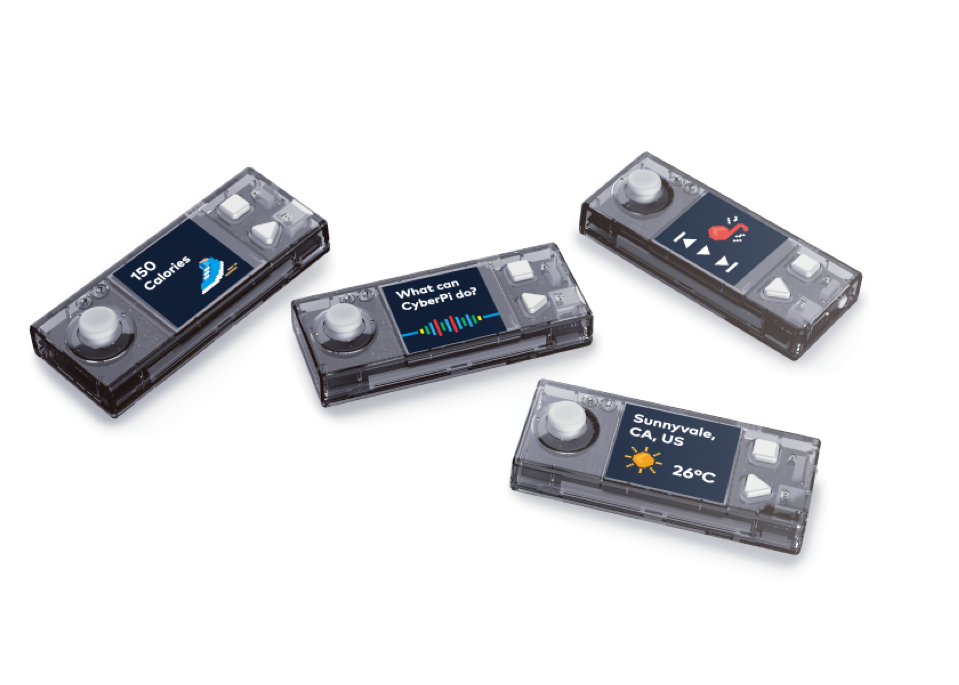
Bot2 is a next-generation educational robot. It is powered by CyberPi, an educational microcontroller enhanced with network capabilities, built-in sensors and much more. With mBot2, educators can carry out interactive and smart lessons that are engaging and reflect real-world applications, with cutting-edge technologies like AI and IoT.
Content overview
The CyberPi Getting Started Activities were developed with students of 11 to 14 years old, and their educators, in mind. It’s a collection engaging and easy-to-use activities that help educators and students discover the possibilities that CyberPi has.
This lessons provide a hands-on learning experience. With hands-on learning, students play a more active role during the class rather than just listening to a lecture from the teacher. It allows them to develop theoretical concepts from practical experience and transfer and apply these concepts back to practical tasks, deepening their understanding.
Lessons overview
| Activity name | Description Indicator | Key concepts |
| 1. Meet the CyberPi | Meet the CyberPi, a feature-rich micro-controller with a plethora of sensors, buttons and a full-color screen display. | • Components and features of the CyberPi. • Navigate mBlock software. • Establish a connection between the software and hardware. |
| 2. Sound Machine | In this lesson, students create a disco party using the on-board LEDs and speaker. This program will use the CyberPi buttons to trigger events and run scripts. Students will also program a button to stop all sounds and lights, as well as a button to restart the CyberPi. |
• Input and Output components on the CyberPi. • Writing Pseudocode. • Creating a program in mBlock. |
| 3. Sound Recorder | By combining the speaker, microphone and integrated storage, students will transform the CyberPi into a pocket-sized audio recorder and playback device. Through an iterative process, students will evaluate their projects and improve their sound recorders. |
• Record audio with the CyberPi. • Play recordings. • Use an iterative design process. |
| 4. Sound Recorder Iteration | Continuing with the Sound Recorder project, students will acquire peer feedback and reflect on their initial solution. Then, students will plan and create a feature-rich, sound recorder roject. |
• Collect and evaluate peer feedback. • Use an iterative design process. |
| 5. Game Controller | In this lesson, students will turn the CyberPi into a game controller by combining device programming and stage programming in mBlock. Students will examine example programs to discover how the CyberPi can control the movement of a sprite. Then, through pair programming, students will modify an existing game to program a CyberPi game controller. |
• Combine stage programming and device programming. • Pair Programming. • Decomposition and abstraction. |
| 6. Sensor Meter | Discover how the on-board sensors on the CyberPi represent loudness and light intensity of the surrounding environment. Students will learn about data representation and graphing of sensors values. |
• Data representation. • Debugging programs. • Understanding sensors. |
| 7. Color Mixer | Students will be introduced to variables to create a CyberPi Color Mixer. This program will use the joystick and buttons to control the R, G, B color values of all of the onboard LEDs. Then, students will use conditional statements to ensure that the R, G, B values do not go out-of-range. |
• Storing data with variables. • Using conditional statements. |
| 8. Strength Meter | In this lesson, students will create a fun game with the CyberPi where the player shakes the CyberPi for ten seconds. The students will program the game to keep score of how many times the shaking strength is greater than 50. |
• Keeping score. • Using the CyberPi Timer. • Displaying text on the CyberPi display. |
| 9. Gift Alarm | Students will use the CyberPi to create a program which detects whether or not a friend has shaken their birthday present. Through the use of wireless communication, students will send messages between computing devices, allowing one device to control another. |
• Using wireless networks. • Communicating between devices. |
Download Resource


