How Can We Help?
User Cloud Message
User Cloud Message
The User Cloud Message extension enables data to be shared across devices and projects. To use this extension, you need to sign in to mBlock 5.
Let’s use Makeblock Halocode as an example to understand the User Cloud Message extension.
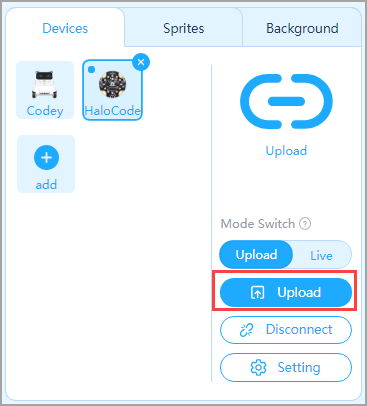
Add Halocode
Connect Halocode to the PC through a USB data cable, add Halocode on the Devices tab, and click Connect to connect Halocode.
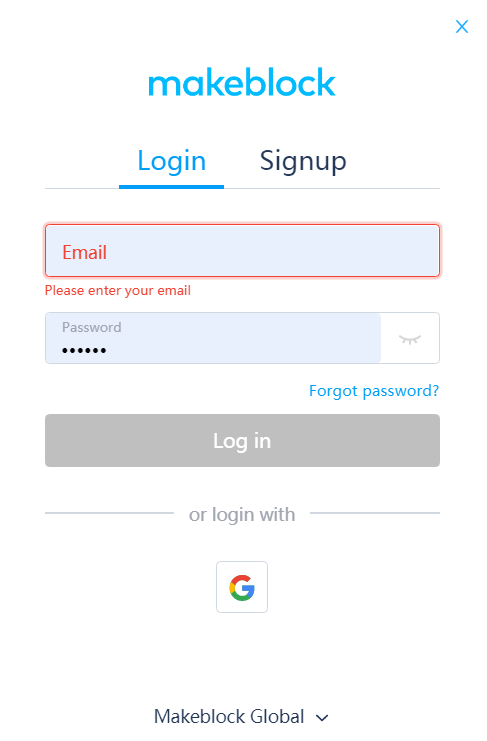
Sign up/Sign in to mBlock 5
Click the Sign up/Sign in icon on the right of the toolbar and follow the instructions.
Control Halocode remotely through the sprite Button
Create a new project to control Halocode remotely through the sprite Button.
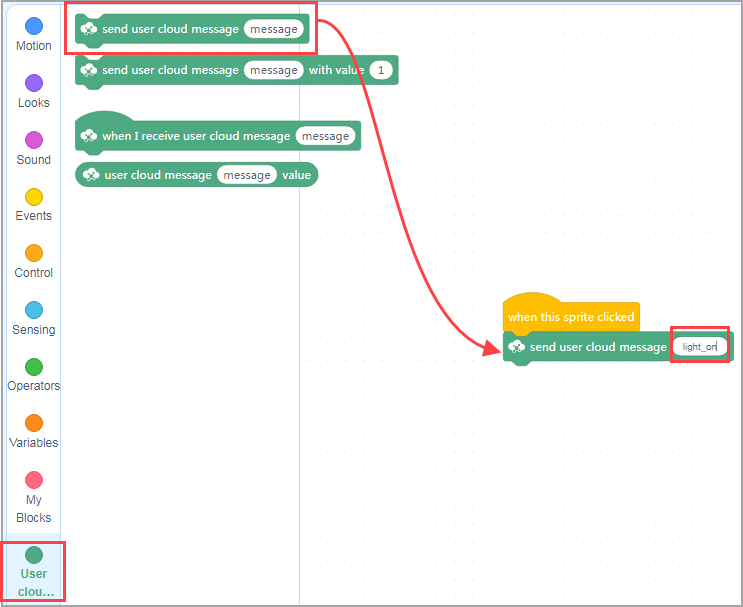
Add the User Cloud Message extension
1. Click the Sprites tab and click + extension at the bottom of the blocks area.

2. On the Extension center page that appears, click + Add at the bottom of User cloud message.
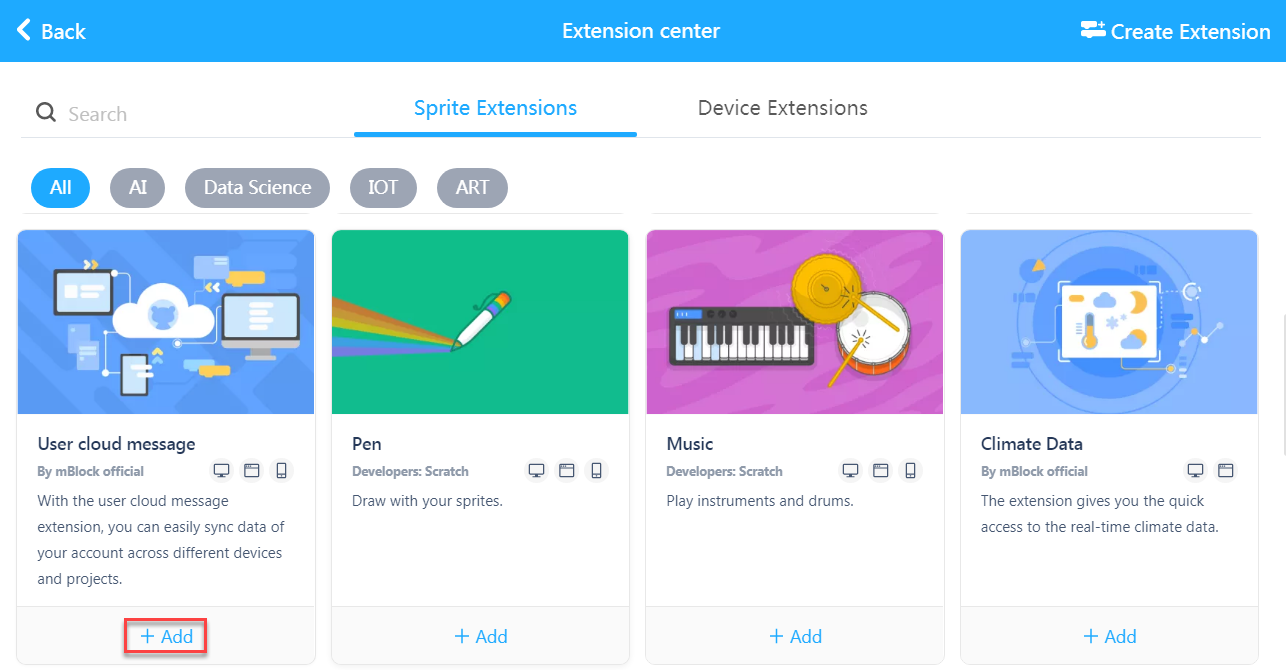
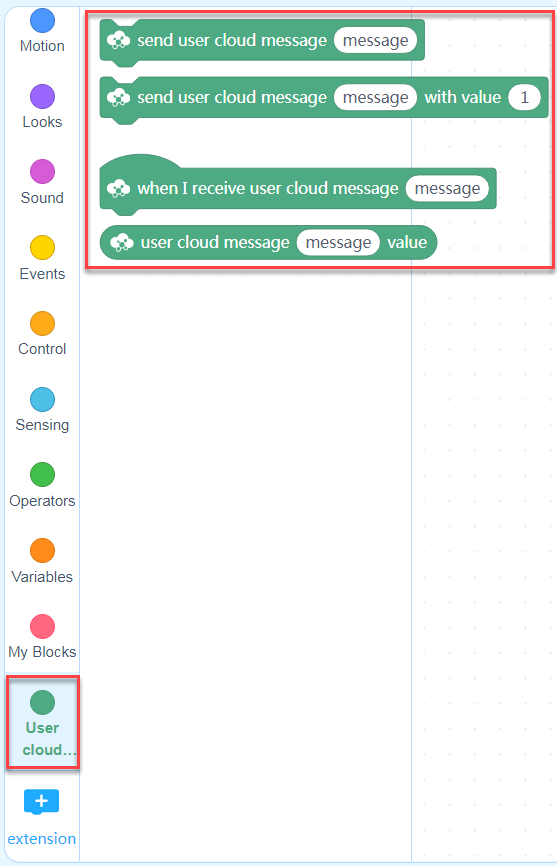
After being added, the extension and its block are displayed in the blocks area.
Step 1: Program the sprite Button
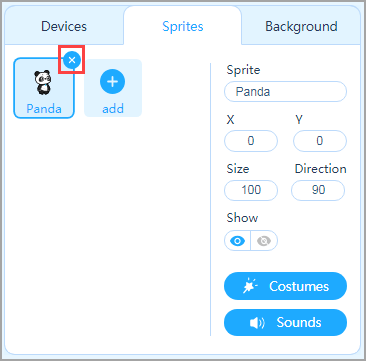
(1) Click × to delete the default sprite Panda on the Sprites tab.
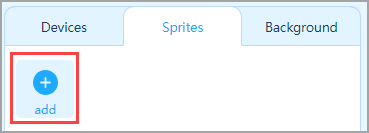
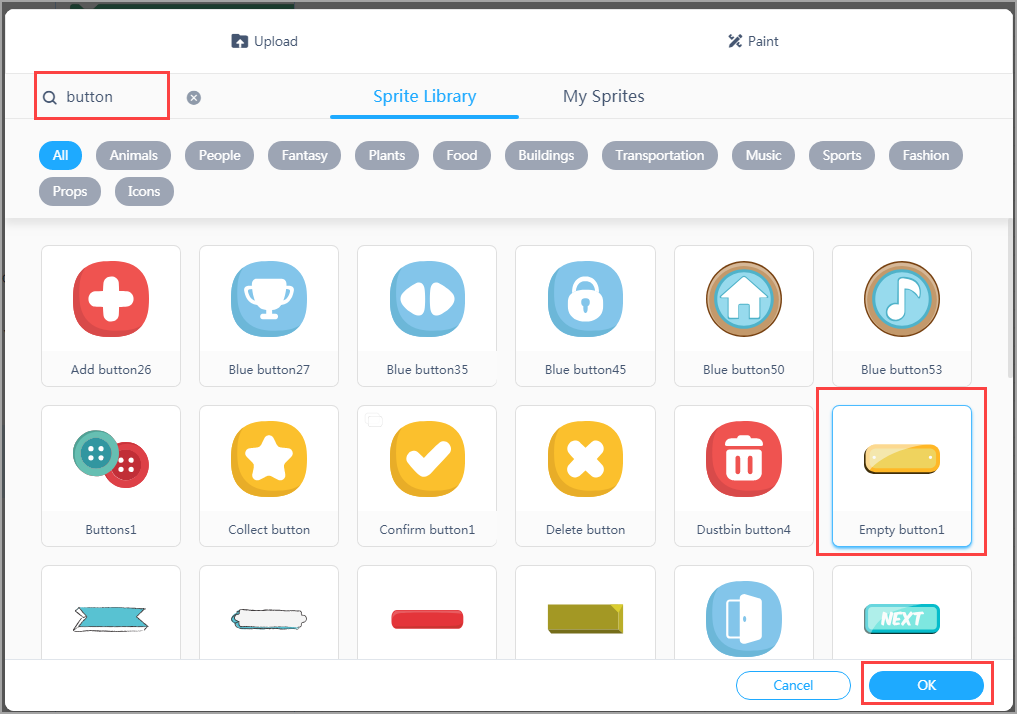
(2) Click + on the Sprites tab. In the Sprite Library dialog box that appears, search for button, choose Empty button1, and click OK.
(3) Choose Empty button1 on the Sprites tab and drag the Events block when this sprite clicked to the scripts area.
(4) Drag the User cloud message block send user cloud message ( ) to the scripts area and name the message light_on.
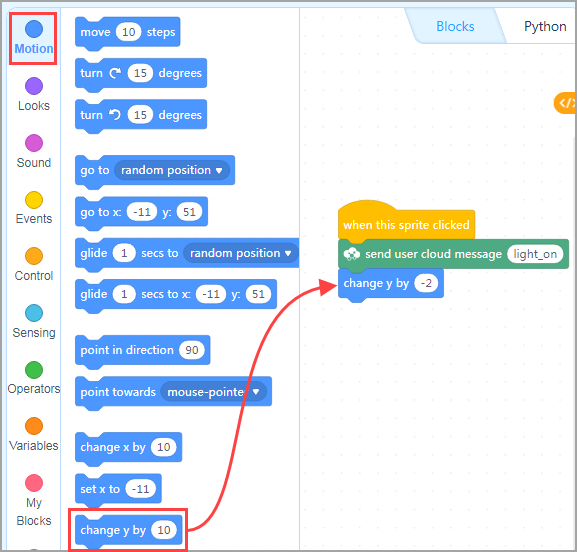
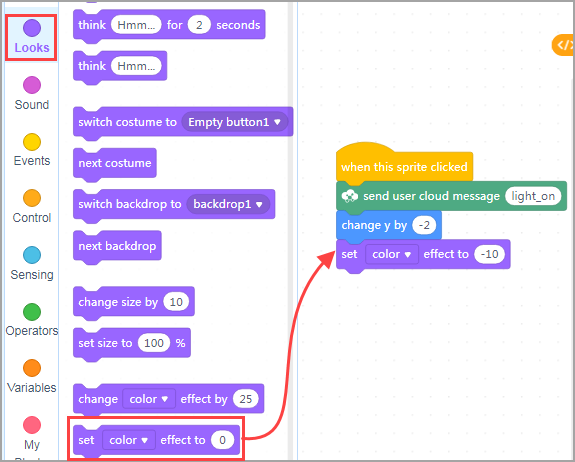
(5) Add some effects on Empty button1 to make it look like clicked. Drag the Motion block change y by ( ) to the scripts area and enter –2, and then drag the Look block set color effect to ( ) to the scripts area and enter –10.
(6) Drag the Control block wait ( ) seconds to the scripts area and enter 0.2; drag the Motion block change y by ( ) to the scripts area and enter 2; and drag the Look block set color effect to ( ) to the scripts area and enter 0.
Step 2: Program Halocode
Now, let’s program Halocode. Ensure that the name of the message received by Halocode is the same as that sent by Empty button1.
Connect to the Network
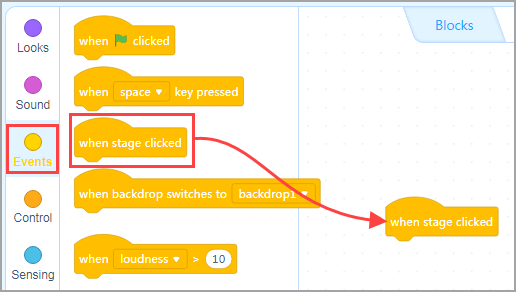
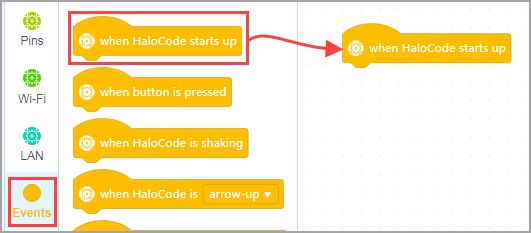
(1) Choose Halocode on the Devices tab and drag the Events block when Halocode starts up to the scripts area.
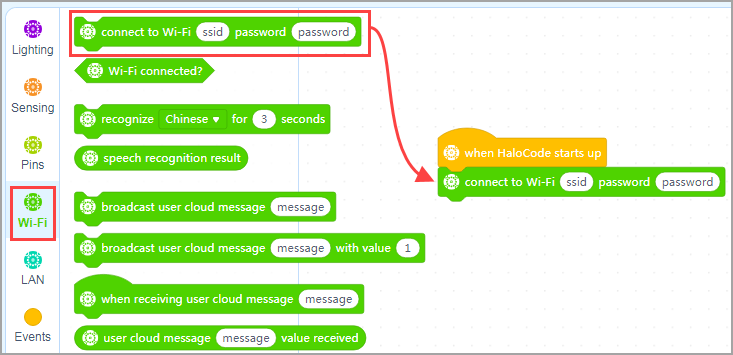
(2) Drag the Wi-Fi block connect to Wi-Fi ( ) password () to the scripts area and enter SSID and password of the wireless network to be connected.
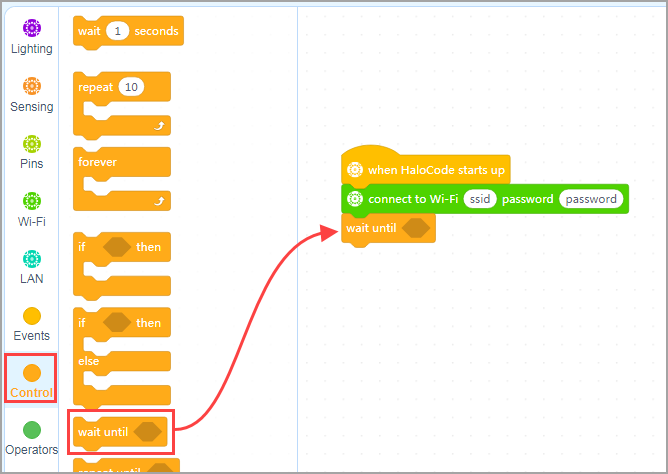
(3) To ensure Wi-Fi connection, drag the Control block wait until ( ) to the scripts area and then drag the Wi-Fi block Wi-Fi connected? to the scripts area.

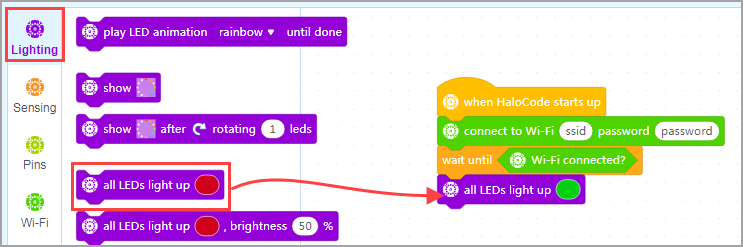
(4) Drag the Lighting block all LEDs light up ( ) to the scripts area to indicate that Wi-Fi is connected.
Write the User Cloud Message program
When Halocode receives the user cloud message, all LEDs on it are on in red and then are off.
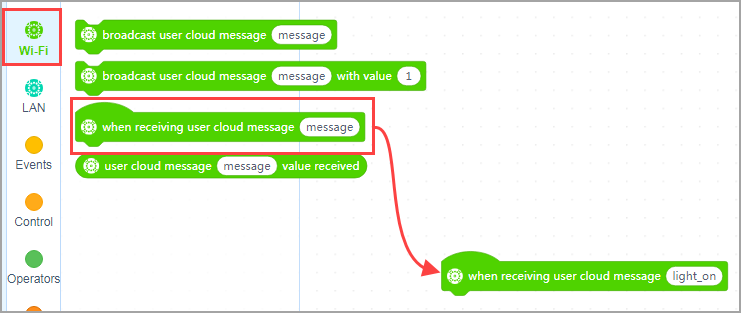
(1) Drag the Wi-Fi block when receiving user cloud message ( ) to the scripts area and enter the name light_on of the message you create.
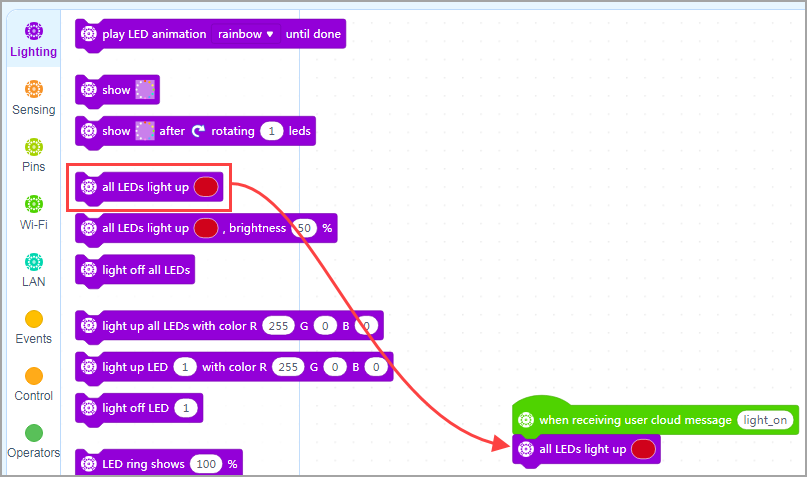
(2) Drag the Lighting block all LEDs light up ( ) to the scripts area and set the color to red.
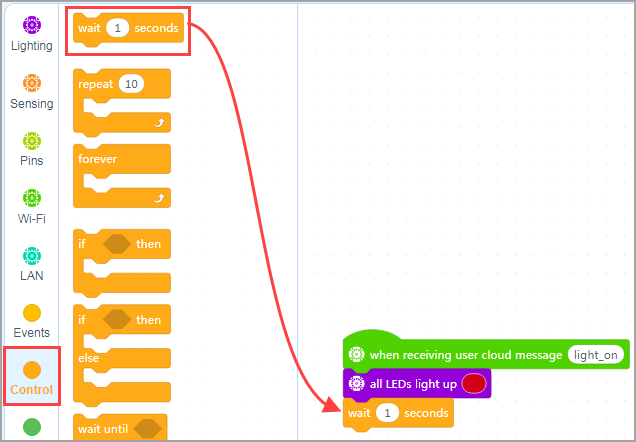
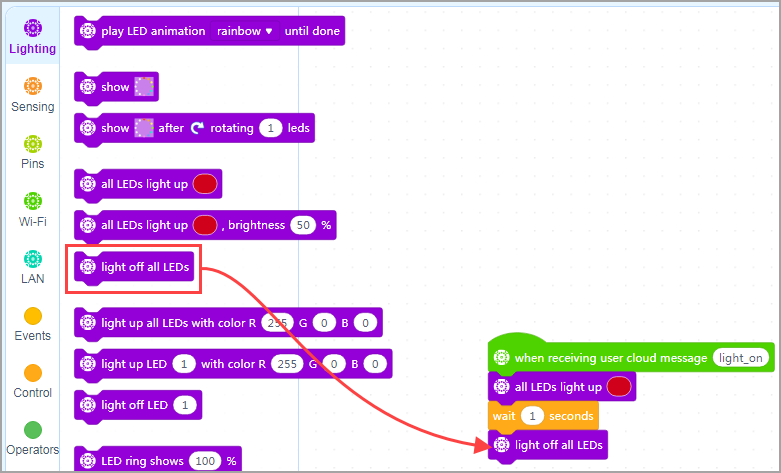
(3) Drag the Control block wait ( ) seconds to the scripts area, and then drag the Lighting block light off all LEDs to the scripts area.
(4) Click Upload to upload the program to Halocode.
(5) Click Empty button1 on the stage and see what happens. You can sign in to mBlock 5 on another PC and open the same program to control Halocode after it is connected to the Internet.
Note:
Remote control can be implemented only after you sign in with the same mBlock 5 account.