How Can We Help?
Preparation
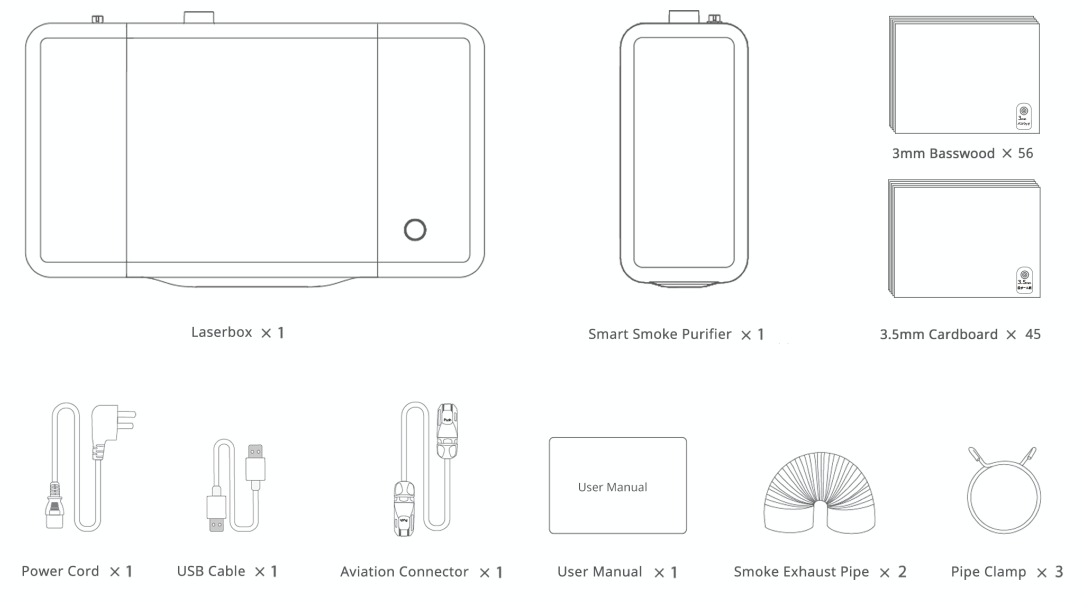
List of items
Meet your Laserbox
Laserbox
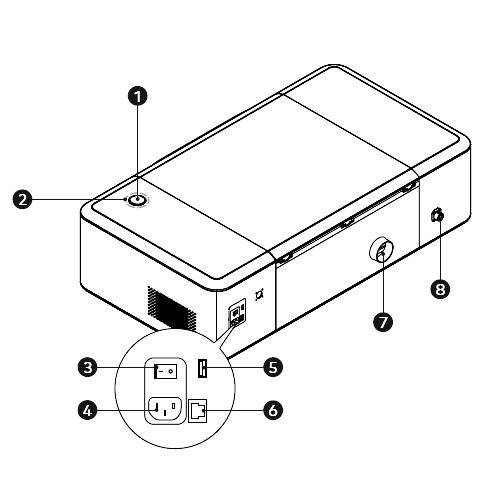
| 1 | Button | 2 | Annular indicator | 3 | Power button | 4 | Power interface | 5 | USB interface |
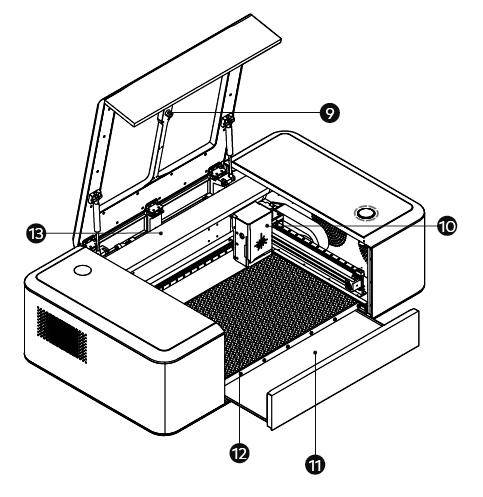
| 6 | Ethernet cable interface | 7 | Smoke outlet | 8 | Aviation interface | 9 | Camera | 10 | Laser head |
| 11 | Tray | 12 | Honeycomb panel | 13 | Laser tube |
Smart smoke purifier
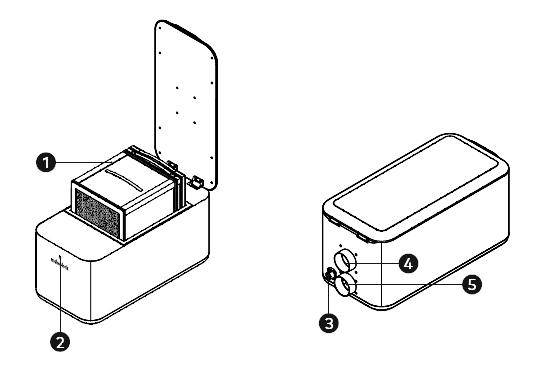
| 1 | Filter | 2 | Indicator | 3 | Aviation interface | 4 | Smoke inlet | 5 | Smoke outlet |
Annular indicator status
| Indicator status | Description |
| Flashing white | The system gets started. |
| Solid white | Waiting to connect |
| Flashing blue | It is ready and the image has been sent successfully |
| Solid blue | It is in the standby mode and the Laserbox has been connected to the computer |
| Six indicators light up gradually | It is in the working status, and the number of indicators that are ON indicates the current progress |
| Solid green | Complete |
| Green breathing indicator | Sleep mode. It goses into the sleep mode from the standby mode after 10 minutes idle. |
| Solid red | Abnormal |
| Solid purple | The Laserbox firmware is being upgraded |
Download and install software
Download Laserbox
Laserbox is the laser engraving software designed by Makeblock.
The software features many capabilities that let you make the most out of Laserbox. It also provides essential design tools that you can depend on to create different shapes and add filters to your design. Download Laserbox at: https://www.makeblock.com/maker-tools/laserbox-2#Software
Install Laserbox
1.Run installer
Run the Laserbox installer you just downloaded.
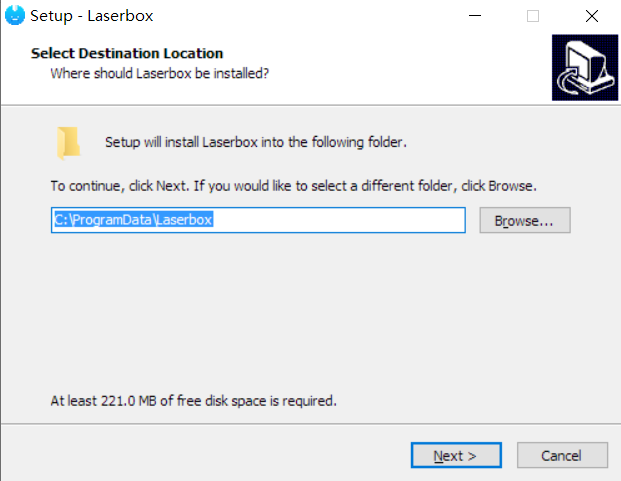
2.Choose destination location
Choose the folder into which you’re going to install Laserbox. Click Next to continue.
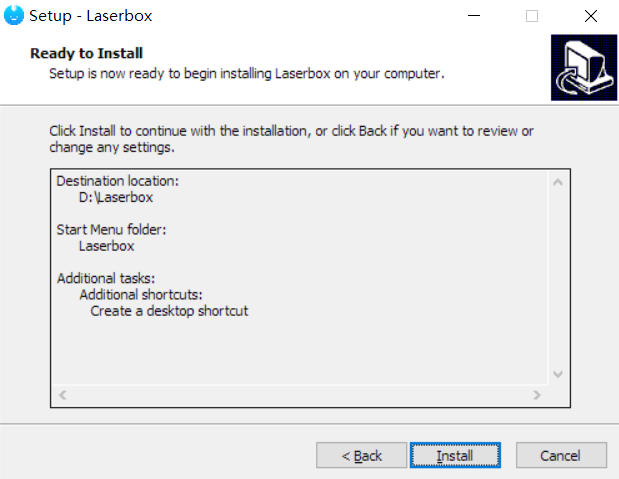
3.Select additional tasks
Follow the on-screen prompts to select any of the additional tasks you want to perform, including adding a folder to the Start menu or creating a desktop shortcut. Click Install to start the installation.
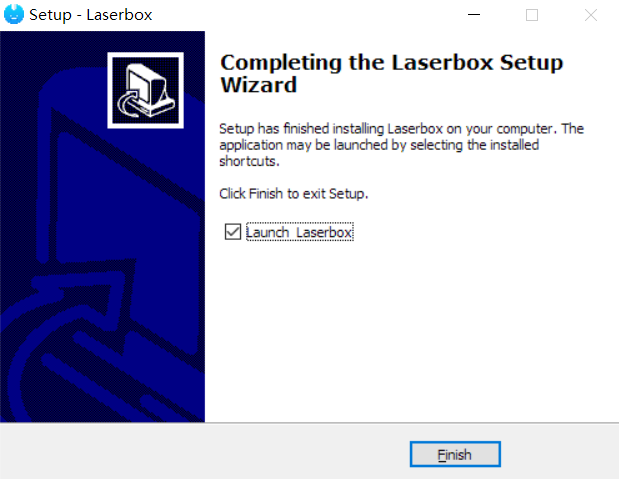
4.Finish
After the installation is complete, click Finish to exit the installer.
Connect devices
Connect the smart smoke purifier to Laserbox.
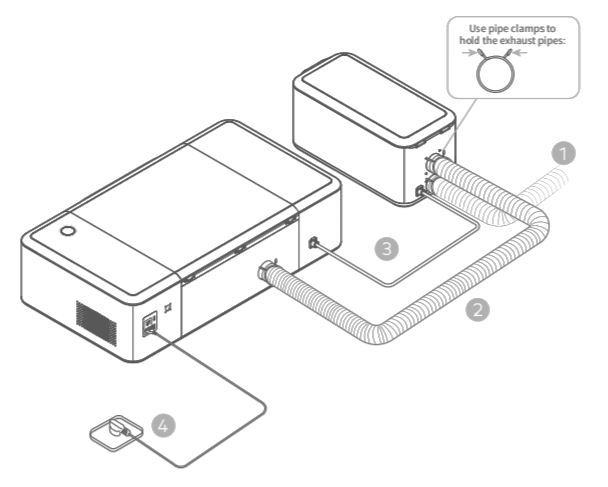
- Plug the 2m exhaust pipe into the purifier and lead the pipe to the window.
- Connect Laserbox and the purifier with the 1.5m exhaust pipe.
- Connect Laserbox and the purifier with the aviation connector.
- Connect to a power supply.
Start Laserbox for the first time
The laser head automatically resets and calibrates after you press the power button. When the first startup is complete, the annular indicator will turn solid white. The startup process takes a while, so please be patient.
Connect laserbox to a computer
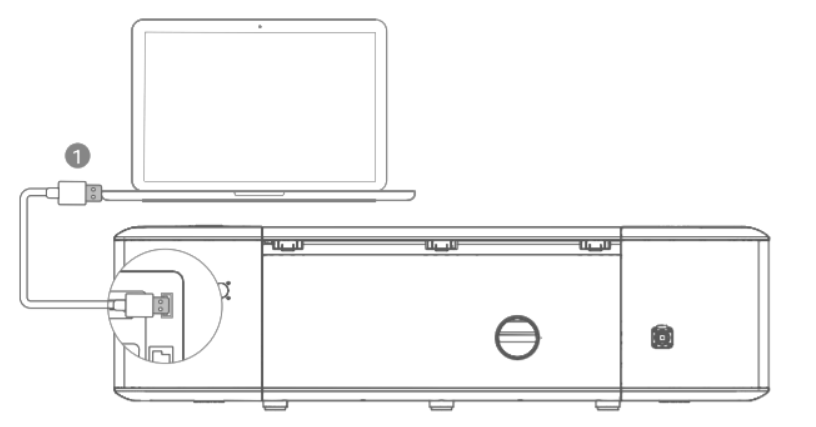
Connect via a USB cable
- Use a USB cable to connect Laserbox to your computer.
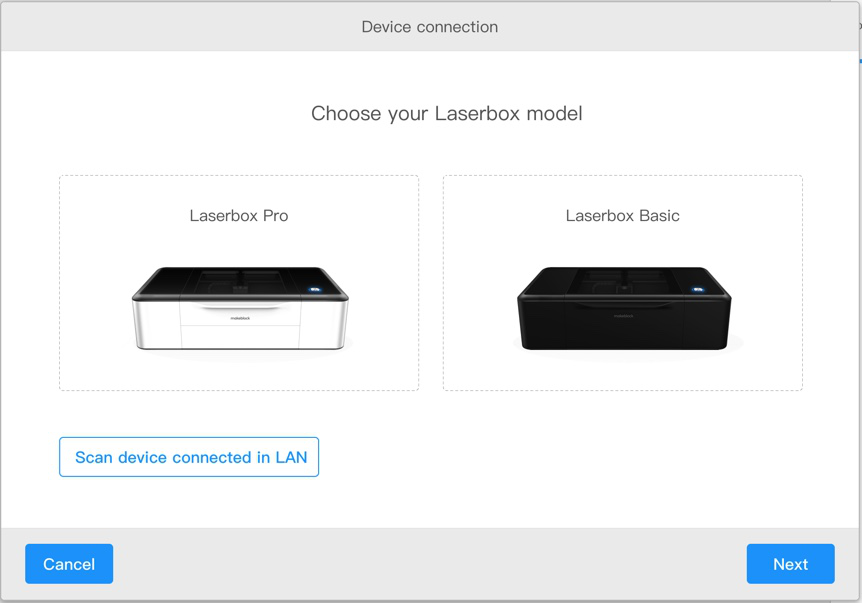
- Open the software Laserbox, choose your Laserbox model, then click Next.
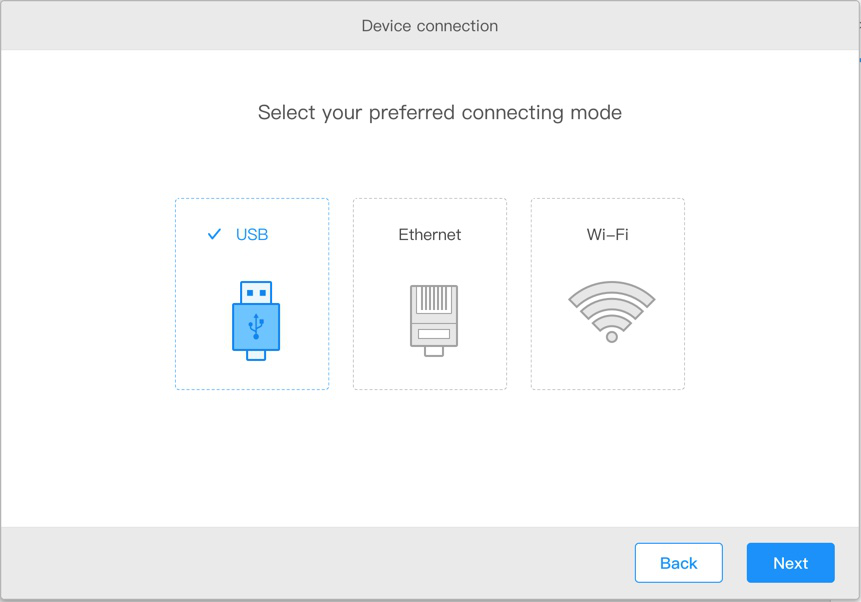
- Select USB, then click Next to connect Laserbox to the computer.
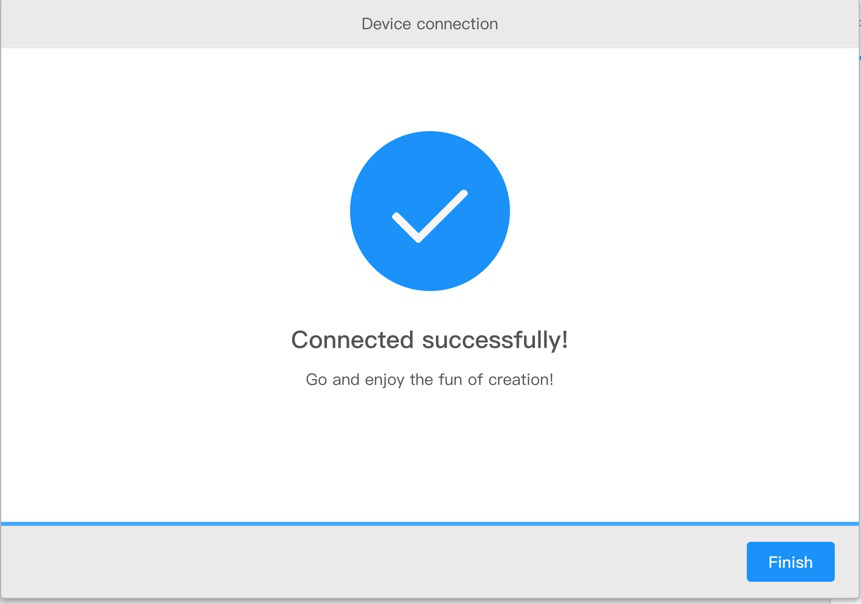
- Connected successfully.
Connect via an Ethernet cable (not included in the package)
- Use an Ethernet cable to connect Laserbox to your computer.
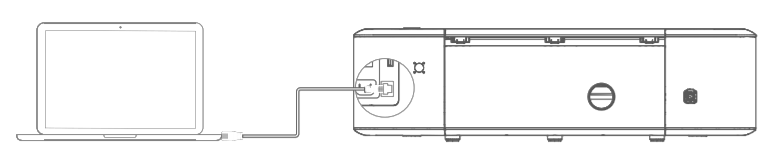
- Open the software Laserbox, select choose your Laserbox model, then click Next.
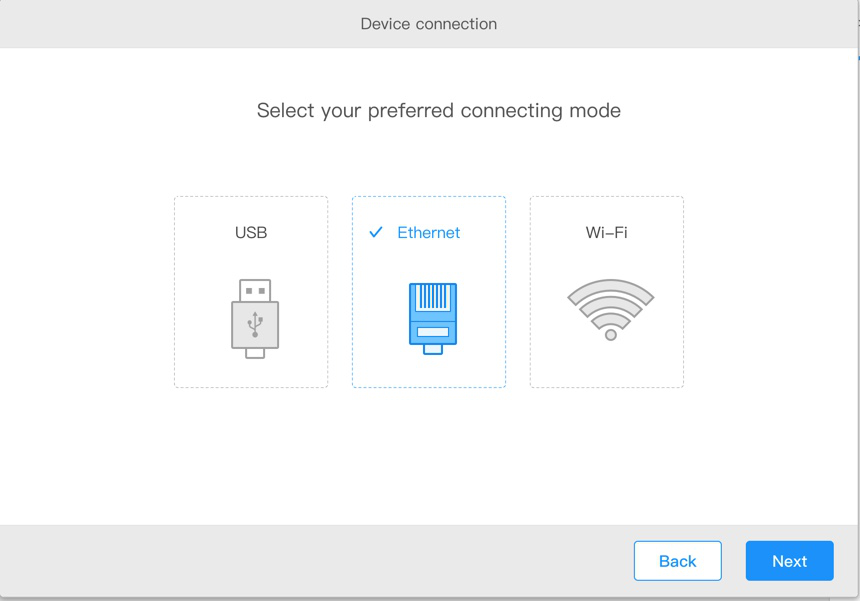
- Select Ethernet, then click Next to connect Laserbox to the computer.
- Connected successfully.
Connect via Wi-Fi.
- Use a USB cable to connect Laserbox to your computer.
- Open the software Laserbox, choose your Laserbox model, then click Next.
- Select Wi-Fi, then click Next to connect Laserbox to the computer.
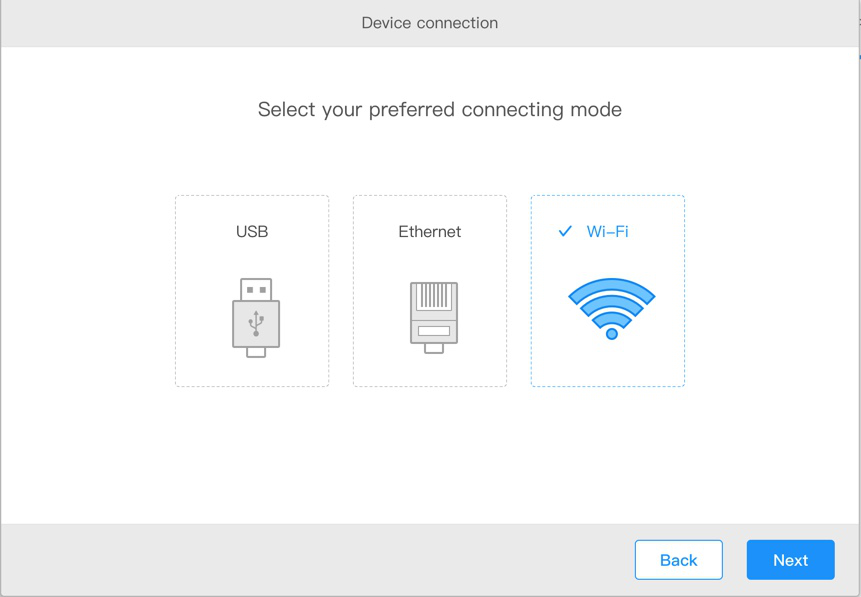
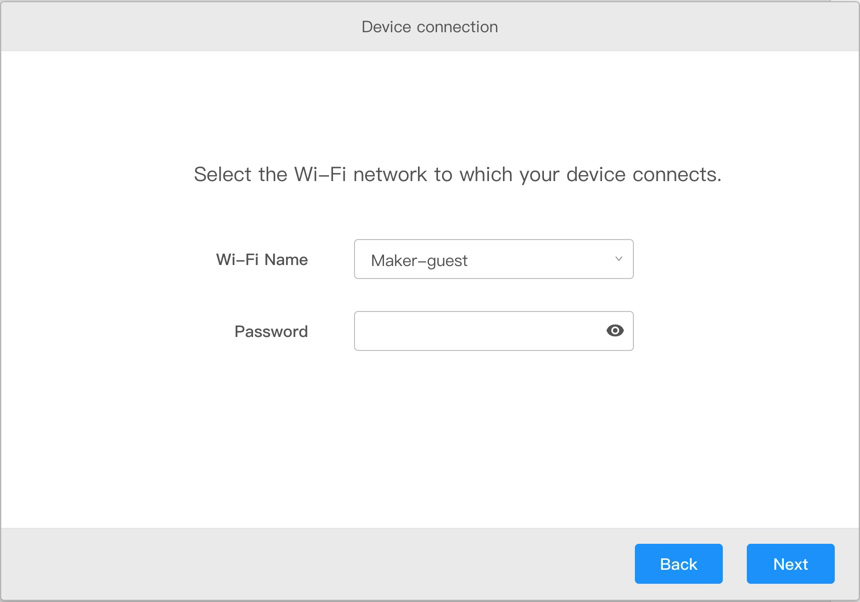
- Connect to an available Wi-Fi network.
- Remove the USB cable when successfully connected to a Wi-Fi network. When the computer and the laser cutter are on the same Wi-Fi network, you can wirelessly control the laser cutter using the software Laserbox.
Connect to a networked Laserbox.
- Ensure your computer and the laser cutter are on the same Wi-Fi network.
- Open the software Laserbox, select Scan device connected in LAN.
- Select the device you’d like to connect from the list. Click Next.
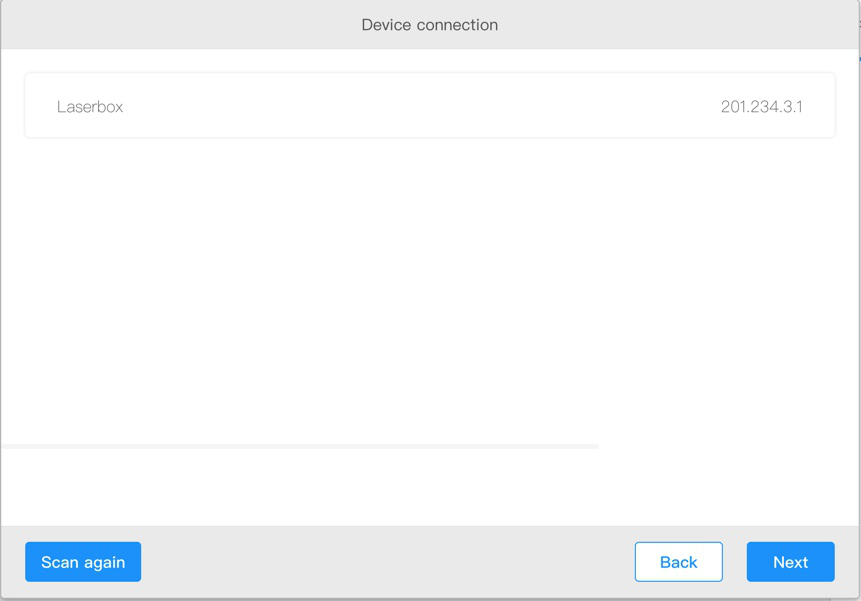
- Connected successfully.