How Can We Help?
Default Arduino Template
To help third-party developers develop extensions more easily, we provide a predefined template named Default Arduino template, simplifying parts of the development process. With this template, developers can focus only on configuration items required for Arduino extensions.
In short, if you want to develop an Arduino extension, choose this template.
Steps for the template
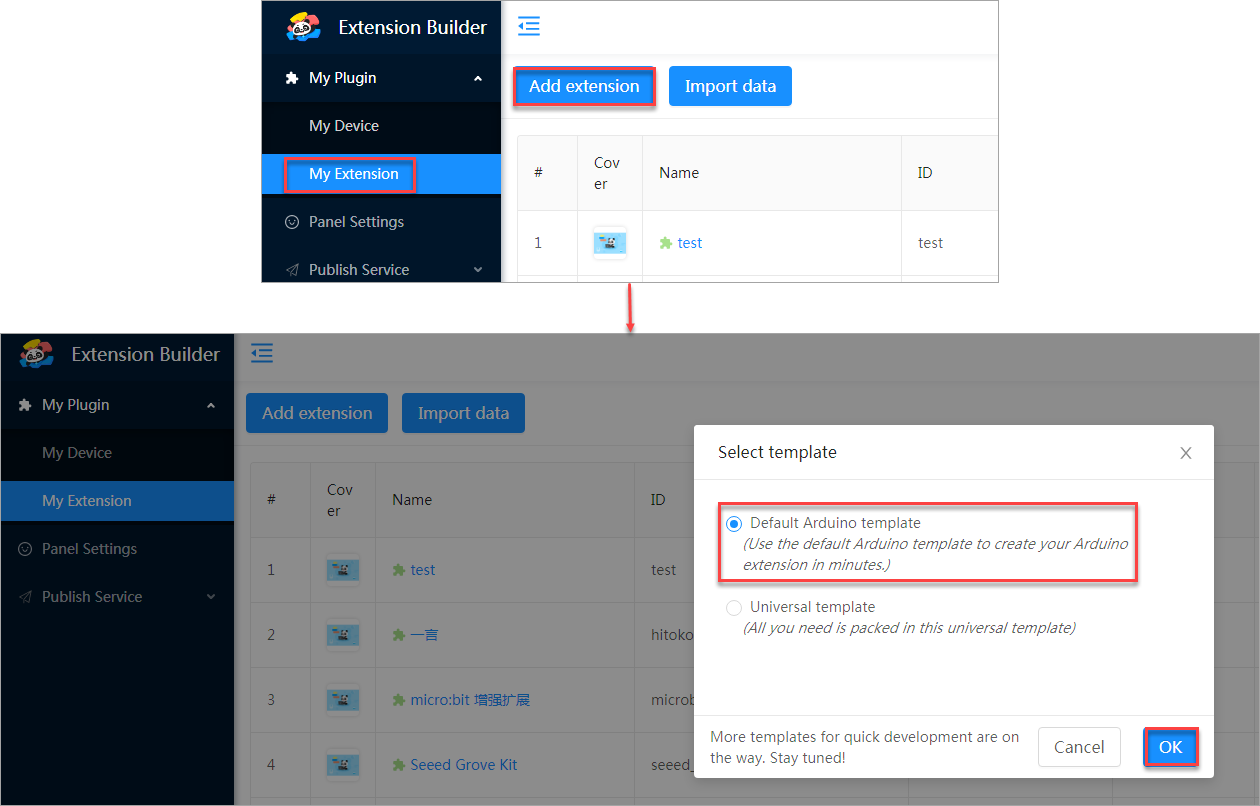
1. Choose the template
Choose My Plugin > My Extension, click Add extension, select Default Arduino template in the dialog box that appears, and click OK.
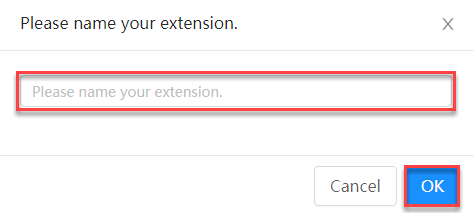
2. Set the extension name
Name your extension and click OK.
3. Configure blocks
(1) Basic configuration
The first category and its first block have been added automatically.
Configure the first block.

In Other blocks configuration, enter the code to be executed when the block is running, and select the options for the block.
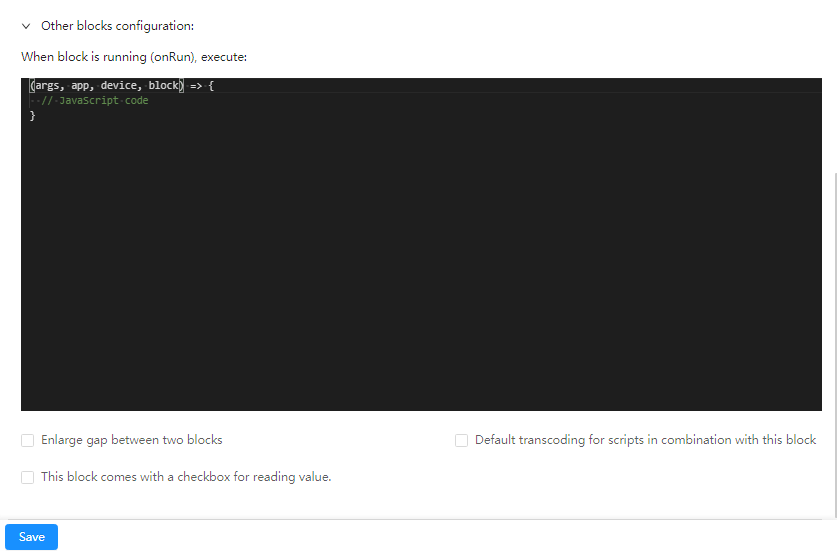
When block is running (onRun), execute: Generally, this is used to configure the code to be executed in Live mode
In the block options:
- Enlarge gap between two blocks: increase the spacing between this block and its adjacent block in the Blocks area on mBlock 5, which facilitates the grouping of this block
- Default transcoding for scripts in combination with this block: generally indicates that this block is used as an Events block (blocks can be transcoded only when they are put under an Events block)
- This block comes with a checkbox for reading value: provides this block with a returned value that can be displayed on the stage in real time (this option is available only for blocks of the numeric and character string types)
(2) Add source file
Click the Add source file tab and drag the library file to the rectangle.

Add the blocks you need and configure them by referring to steps (1) and (2).
Now, an Arduino extension has been created. After saving the blocks, you can click Preview in the upper right corner to preview the extension.
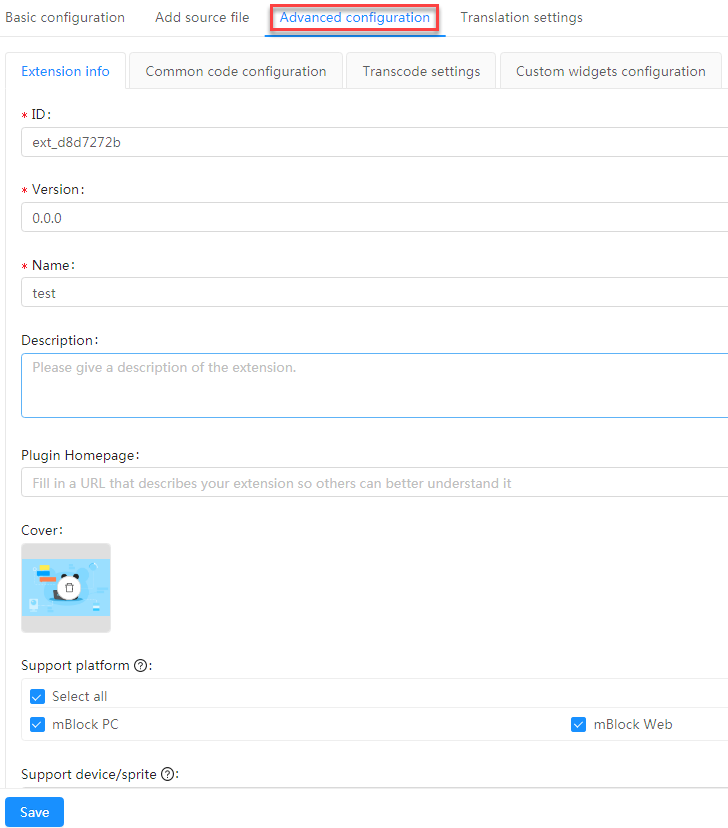
(3) Advanced configuration
If you need to further configure the extension, you can click the Advanced configuration tab to set more information.
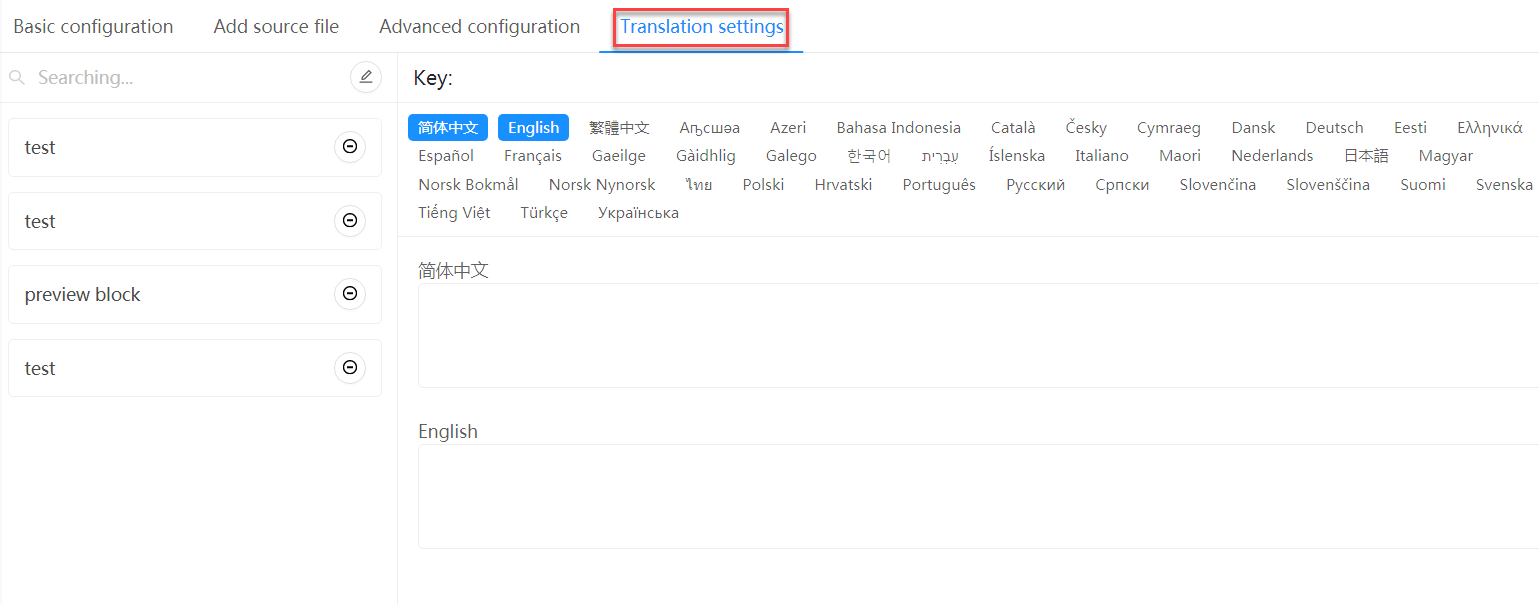
(4) Translation settings
You can translate your extension into multiple languages on the Translation settings tab, so that it can be used by users of different countries.
After completing the configuration, you can click Preview in the upper right corner to preview the extension.
For more details about how to configure an extension, see [Arduino] Create an LED Extension (Using the Default Arduino Template).